When it comes to installing baseboards, brad nails for baseboards are a game-changer for achieving a clean and professional finish. These small yet mighty fasteners are specifically designed to hold delicate trim pieces like baseboards securely in place without splitting the wood. Whether you're a DIY enthusiast or a seasoned contractor, understanding the role of brad nails in baseboard installation can save you time, effort, and costly mistakes. Their slim profile and minimal surface impact make them ideal for projects where appearance matters as much as functionality.
Baseboards serve both aesthetic and practical purposes, covering gaps between walls and floors while adding a polished look to any room. However, securing them properly requires the right tools and materials. Brad nails for baseboards strike the perfect balance between strength and subtlety, ensuring your baseboards stay in place without unsightly holes or damage. With the growing popularity of DIY home improvement projects, knowing how to use brad nails effectively can elevate your craftsmanship and deliver professional-grade results.
In this comprehensive guide, we’ll dive deep into everything you need to know about brad nails for baseboards. From understanding their unique features to exploring the best practices for installation, this article will equip you with the knowledge and confidence to tackle your next project. Whether you’re wondering about the ideal nail size, the right tools to use, or how to avoid common mistakes, we’ve got you covered. Let’s get started!
Read also:Did Andy Kaufman Fake His Death Unraveling The Mystery
Table of Contents
- What Are Brad Nails for Baseboards and Why Are They Essential?
- How to Choose the Right Brad Nails for Baseboards?
- What Tools Do You Need to Install Brad Nails for Baseboards?
- Step-by-Step Guide to Installing Baseboards with Brad Nails
- What Are the Common Mistakes to Avoid When Using Brad Nails for Baseboards?
- What Are the Benefits of Using Brad Nails for Baseboards?
- How to Maintain and Care for Your Brad Nailer?
- Frequently Asked Questions About Brad Nails for Baseboards
What Are Brad Nails for Baseboards and Why Are They Essential?
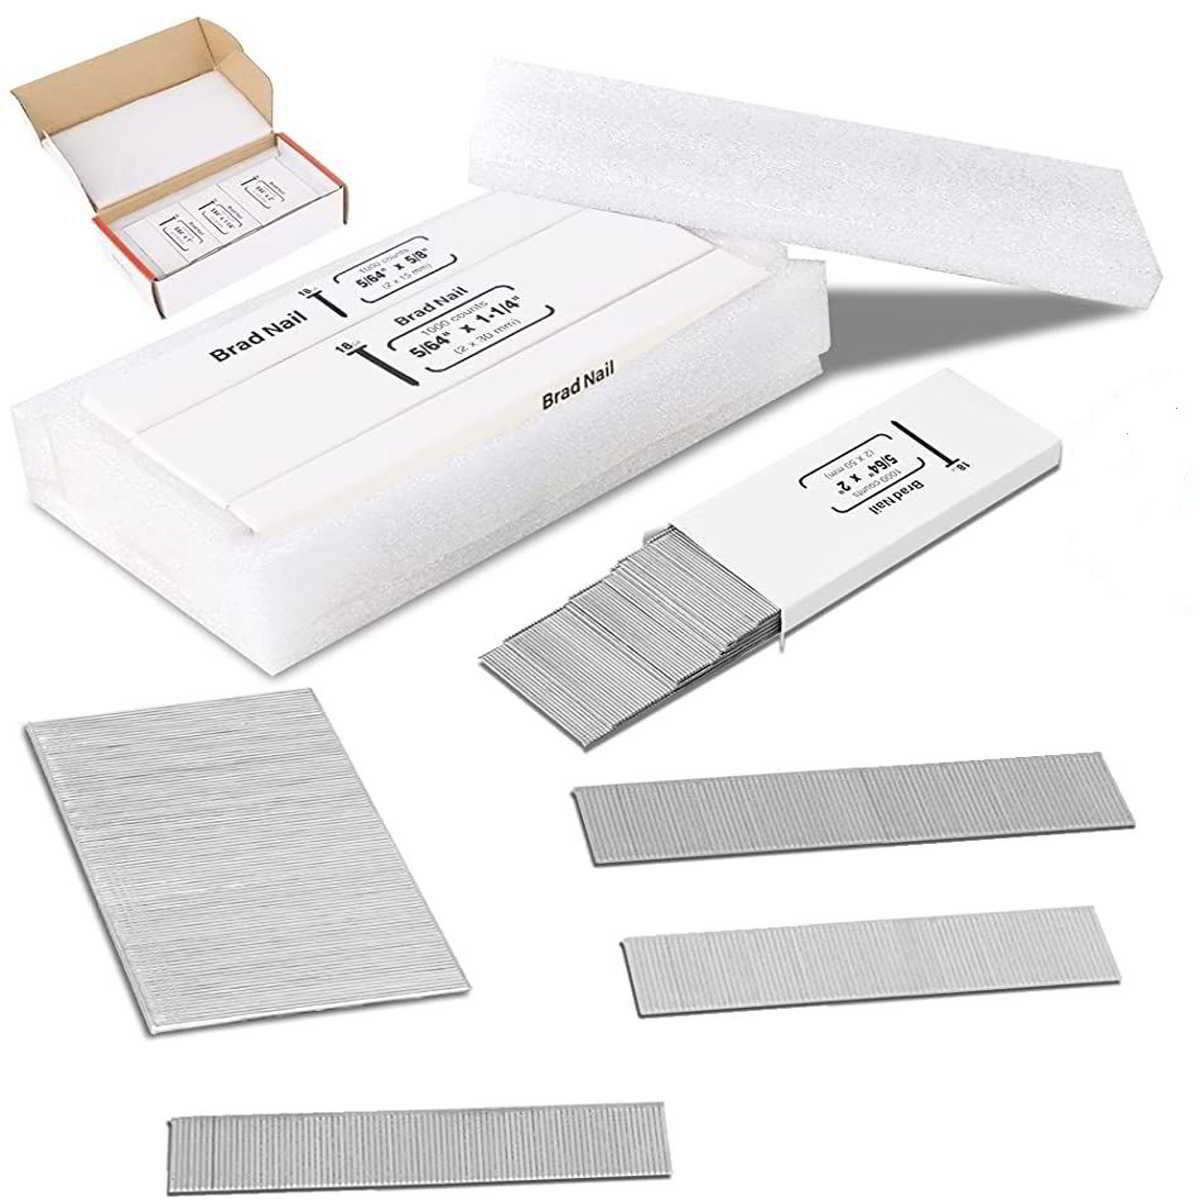
Brad nails for baseboards are thin, lightweight fasteners designed specifically for trim work. Unlike traditional nails, brad nails have a smaller diameter, which minimizes the risk of splitting delicate materials like baseboards. Their slim profile ensures that they leave behind tiny holes that are easy to conceal with wood filler or paint, making them perfect for projects where aesthetics are a priority.
These nails are typically made from steel or stainless steel, offering durability and resistance to corrosion. The length of brad nails for baseboards usually ranges from 5/8 inch to 2 inches, depending on the thickness of the baseboard and the material it’s being attached to. For most baseboard installations, 1-1/4 inch brad nails are the go-to choice, as they provide enough holding power without penetrating too deeply into the wall.
Why are brad nails essential for baseboard installation? The answer lies in their ability to deliver a secure hold without compromising the integrity of the material. Baseboards are often made from softer woods like pine or MDF (medium-density fiberboard), which are prone to splitting when using larger nails. Brad nails for baseboards eliminate this risk, ensuring a smooth and professional finish every time.
How to Choose the Right Brad Nails for Baseboards?
Selecting the right brad nails for baseboards can make or break your project. With so many options available, it’s important to consider factors like nail gauge, length, and material. Here’s a breakdown of what to look for:
What Gauge Should You Choose for Brad Nails?
The gauge of a brad nail refers to its thickness, with lower numbers indicating thicker nails. For baseboard installation, 18-gauge brad nails are the most commonly used. These nails strike the perfect balance between strength and subtlety, making them ideal for securing trim without causing damage.
How Long Should Brad Nails Be?
The length of the brad nail depends on the thickness of your baseboard and the material it’s being attached to. As a general rule, the nail should be long enough to penetrate the baseboard and at least 3/4 inch into the wall or stud. For most projects, 1-1/4 inch brad nails are sufficient.
Read also:What Is The Perfect Temp Of Medium Rare Steak And How To Achieve It
Material Matters: Steel vs. Stainless Steel
Steel brad nails are the most affordable option and work well for indoor projects. However, if you’re installing baseboards in a humid environment like a bathroom or basement, stainless steel brad nails are a better choice due to their corrosion-resistant properties.
What Tools Do You Need to Install Brad Nails for Baseboards?
Installing brad nails for baseboards requires the right tools to ensure precision and efficiency. Here’s a list of essential tools and their functions:
- Brad Nailer: A pneumatic or cordless brad nailer is the primary tool for driving brad nails into baseboards. These tools are lightweight and easy to handle, making them perfect for trim work.
- Air Compressor (for Pneumatic Nailers): If you’re using a pneumatic brad nailer, you’ll need an air compressor to power the tool. Ensure the compressor has enough PSI (pounds per square inch) to drive the nails effectively.
- Safety Gear: Safety glasses and ear protection are essential when using power tools. Baseboard installation can also produce dust, so a mask is recommended.
- Hammer and Nail Set: While not always necessary, these tools can come in handy for manual adjustments or touch-ups.
Step-by-Step Guide to Installing Baseboards with Brad Nails
Now that you have the right tools and materials, it’s time to install your baseboards. Follow these steps for a flawless finish:
- Prepare the Baseboards: Measure and cut the baseboards to fit the length of your walls. Use a miter saw for precise cuts, especially for corners.
- Mark the Studs: Use a stud finder to locate the wall studs. Mark their positions lightly with a pencil to ensure your brad nails have a secure anchor point.
- Position the Baseboard: Align the baseboard against the wall and hold it firmly in place. Double-check the fit before nailing.
- Drive the Brad Nails: Load your brad nailer with the appropriate nails and drive them into the baseboard at a slight angle. Space the nails evenly, about 12-16 inches apart.
- Fill the Nail Holes: Use wood filler to conceal the nail holes. Once dry, sand the area lightly and paint or stain as desired.
What Are the Common Mistakes to Avoid When Using Brad Nails for Baseboards?
Even experienced DIYers can make mistakes when using brad nails for baseboards. Here are some common pitfalls and how to avoid them:
Are You Using the Wrong Nail Length?
Using nails that are too short may not provide enough holding power, while nails that are too long can damage the wall or baseboard. Always measure the thickness of your materials before selecting the nail length.
Are You Forgetting to Check the Air Pressure?
If you’re using a pneumatic brad nailer, improper air pressure can lead to under-driven or over-driven nails. Refer to your nailer’s manual for the recommended PSI range and adjust accordingly.
Skipping the Stud Finder
Driving nails into empty wall space can weaken the baseboard’s hold. Always locate the studs before nailing to ensure a secure installation.
What Are the Benefits of Using Brad Nails for Baseboards?
Brad nails for baseboards offer numerous advantages over other fastening methods. Here are some of the key benefits:
- Minimal Surface Damage: Their small size and thin profile leave behind tiny holes that are easy to conceal.
- Reduced Risk of Splitting: Brad nails are less likely to split delicate materials like MDF or pine.
- Efficient Installation: A brad nailer allows you to drive nails quickly and accurately, saving time and effort.
- Professional Finish: The clean and seamless appearance achieved with brad nails enhances the overall look of your baseboards.
How to Maintain and Care for Your Brad Nailer?
To ensure your brad nailer performs optimally, regular maintenance is essential. Here are some tips for keeping your tool in top condition:
- Clean the Air Filter: For pneumatic nailers, clean or replace the air filter regularly to prevent clogs.
- Lubricate Moving Parts: Use a few drops of pneumatic tool oil to lubricate the internal components of your nailer.
- Inspect the Magazine: Check the nail magazine for debris or jammed nails and clear them promptly.
- Store Properly: Keep your brad nailer in a dry, dust-free environment to prevent rust and damage.
Frequently Asked Questions About Brad Nails for Baseboards
Can I Use Finish Nails Instead of Brad Nails for Baseboards?
While finish nails can be used for baseboards, they are thicker and more likely to split delicate materials. Brad nails for baseboards are a better choice for achieving a clean and professional finish.
Do I Need an Air Compressor for a Brad Nailer?
Not necessarily. Cordless brad nailers are available and powered by batteries, making them a convenient option for projects without access to an air compressor.
How Do I Remove a Brad Nail Without Damaging the Baseboard?
Use a pair of needle-nose pliers to gently pull out the nail. If the nail is countersunk, you may need to use a nail set to lift it slightly before removal.
For more tips on baseboard installation, check out this resource from The Family Handyman.
Conclusion
Brad nails for baseboards are an indispensable tool for achieving a professional and polished finish in your trim work. By understanding their features, selecting the right materials, and following best practices, you can ensure a seamless installation process. Whether you’re a DIY enthusiast or a seasoned contractor, mastering the use of brad nails will elevate your craftsmanship and deliver results you can be proud of.
Remember to choose the right tools, avoid common mistakes, and maintain your equipment for long-lasting performance. With this comprehensive guide, you’re well-equipped to tackle your next baseboard project with confidence. Happy nailing!