Valorant Pearl Map Layout has quickly become one of the most popular battlegrounds in Riot Games' tactical shooter, Valorant. With its vibrant Mediterranean-inspired design and intricate layout, Pearl offers players a unique blend of tactical challenges and opportunities. Whether you're a seasoned pro or a casual player, mastering the intricacies of Pearl can significantly enhance your gameplay experience. The map's design emphasizes verticality, strategic choke points, and diverse combat scenarios, making it a favorite among players who enjoy dynamic and fast-paced matches. Pearl's layout requires players to adapt their strategies constantly, ensuring that no two matches feel the same.
One of the standout features of the Valorant Pearl Map Layout is its ability to cater to various playstyles. Whether you prefer aggressive pushes, calculated defensive setups, or stealthy flanking maneuvers, Pearl offers something for everyone. The map's three distinct lanes—A, B, and Mid—each come with their own unique characteristics, allowing teams to experiment with different strategies. Understanding the layout of these lanes, the key areas, and the optimal routes for rotations is crucial for success. This article will delve deep into the nuances of Pearl, offering a detailed breakdown of its layout, strategies, and tips to help you dominate the competition.
As you explore the Valorant Pearl Map Layout, you'll discover that its beauty lies not just in its aesthetics but also in its complexity. From the tight corridors of A Site to the open spaces of B Site, every area demands a unique approach. The map's design encourages creativity, rewarding players who can think on their feet and adapt to ever-changing situations. Whether you're looking to improve your individual performance or elevate your team's coordination, understanding Pearl's layout is the first step toward achieving victory. Let's dive into the details and uncover the secrets that make Pearl a standout map in Valorant.
Read also:Discovering Lauren Alexis A Comprehensive Guide To Her Life Achievements And Influence
Table of Contents
- What Makes Valorant Pearl Map Layout Unique?
- How Can You Master the A Site on Pearl?
- What Are the Best Strategies for B Site?
- Why Is Mid Control Crucucial on Pearl?
- How to Optimize Rotations Between Sites?
- What Are the Key Callouts on Pearl?
- How to Use Valorant Pearl Map Layout to Your Advantage?
- What Are Common Mistakes to Avoid on Pearl?
What Makes Valorant Pearl Map Layout Unique?
The Valorant Pearl Map Layout stands out among other maps due to its distinct Mediterranean-inspired architecture and intricate design. Unlike other maps, Pearl is the first to feature three bomb sites instead of the traditional two, offering players more strategic depth and variety. The map's verticality is another defining feature, with multiple levels and elevated positions that allow for creative plays and unexpected flanks. This vertical design not only adds complexity but also rewards players who can think outside the box and adapt to the ever-changing flow of the game.
Another unique aspect of the Valorant Pearl Map Layout is its emphasis on choke points and tight spaces. These areas create intense, close-quarters combat scenarios that test players' reflexes and decision-making skills. For example, the narrow corridors leading to A Site and the confined spaces around B Site demand precise coordination and communication within teams. The map's layout also encourages players to utilize utility effectively, as smoke grenades, flashbangs, and other tools can completely alter the dynamics of a fight. Understanding these nuances is essential for anyone looking to excel on Pearl.
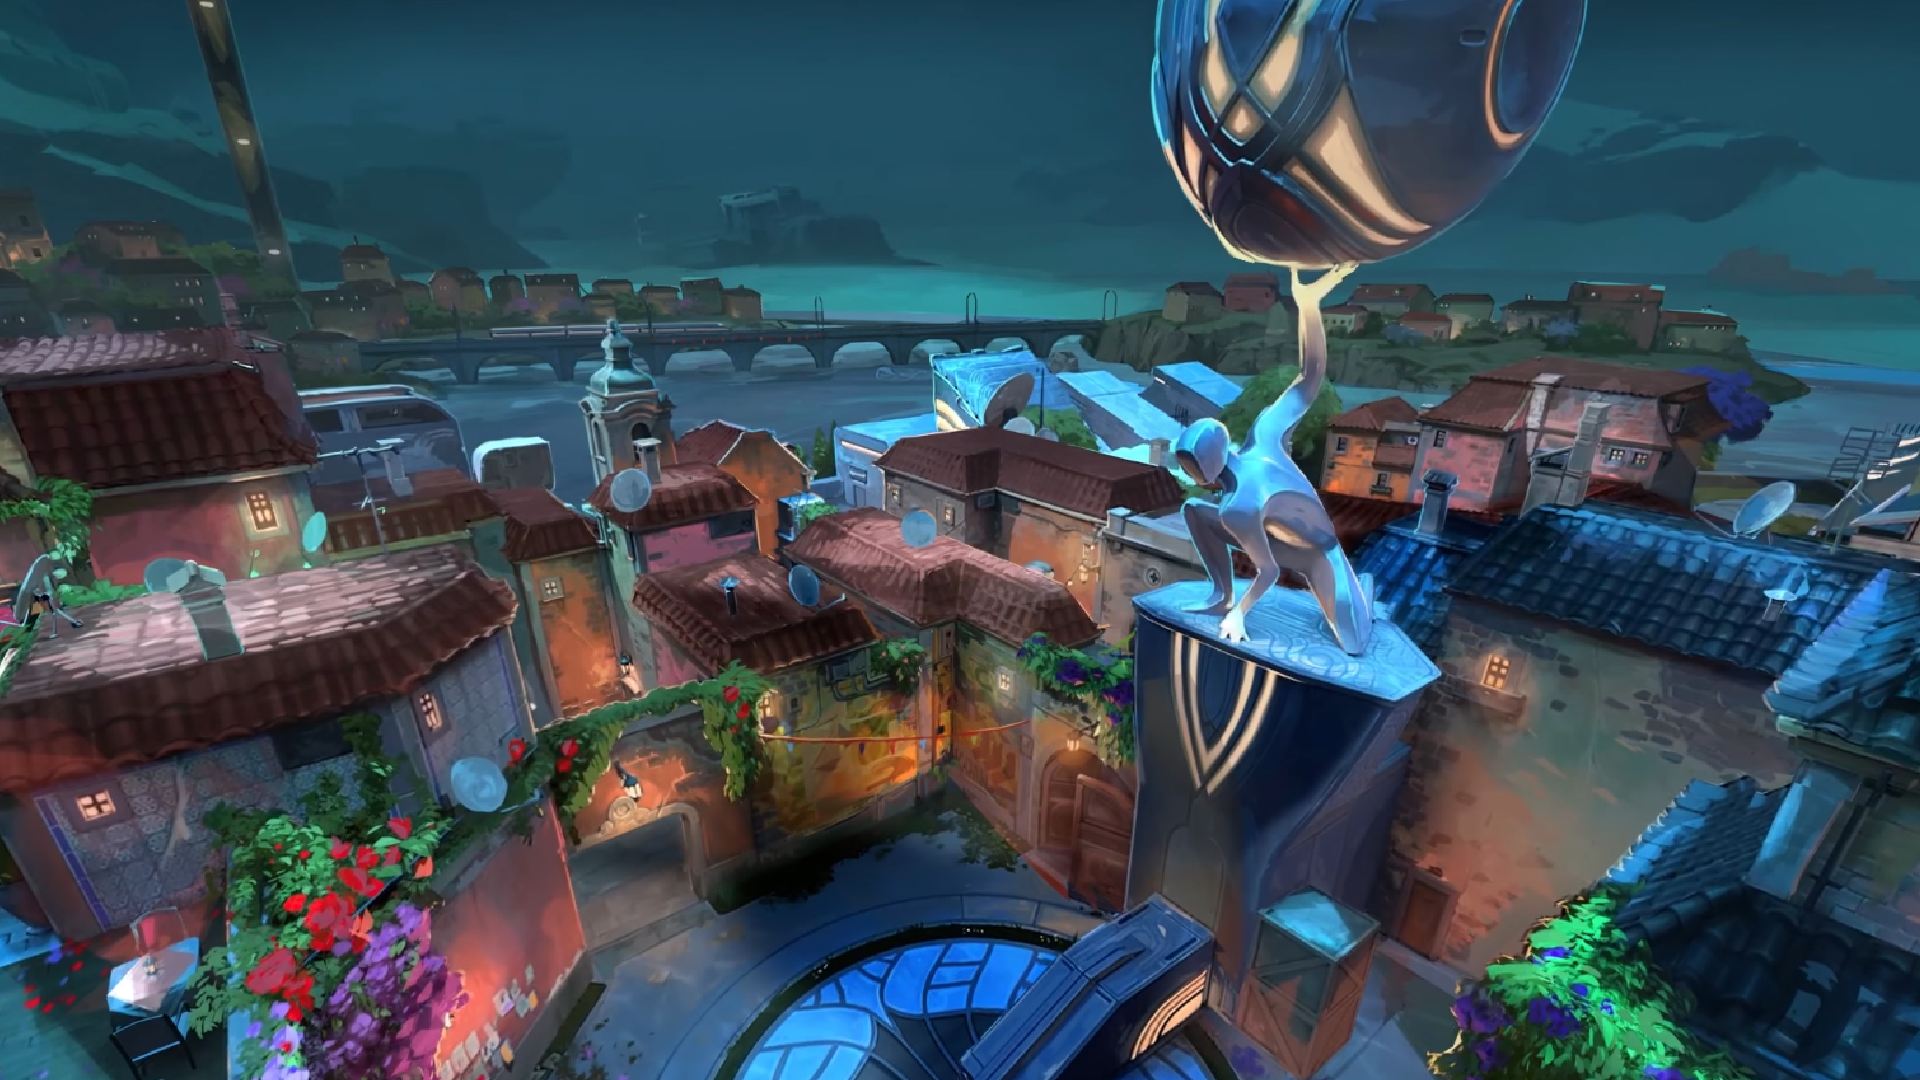
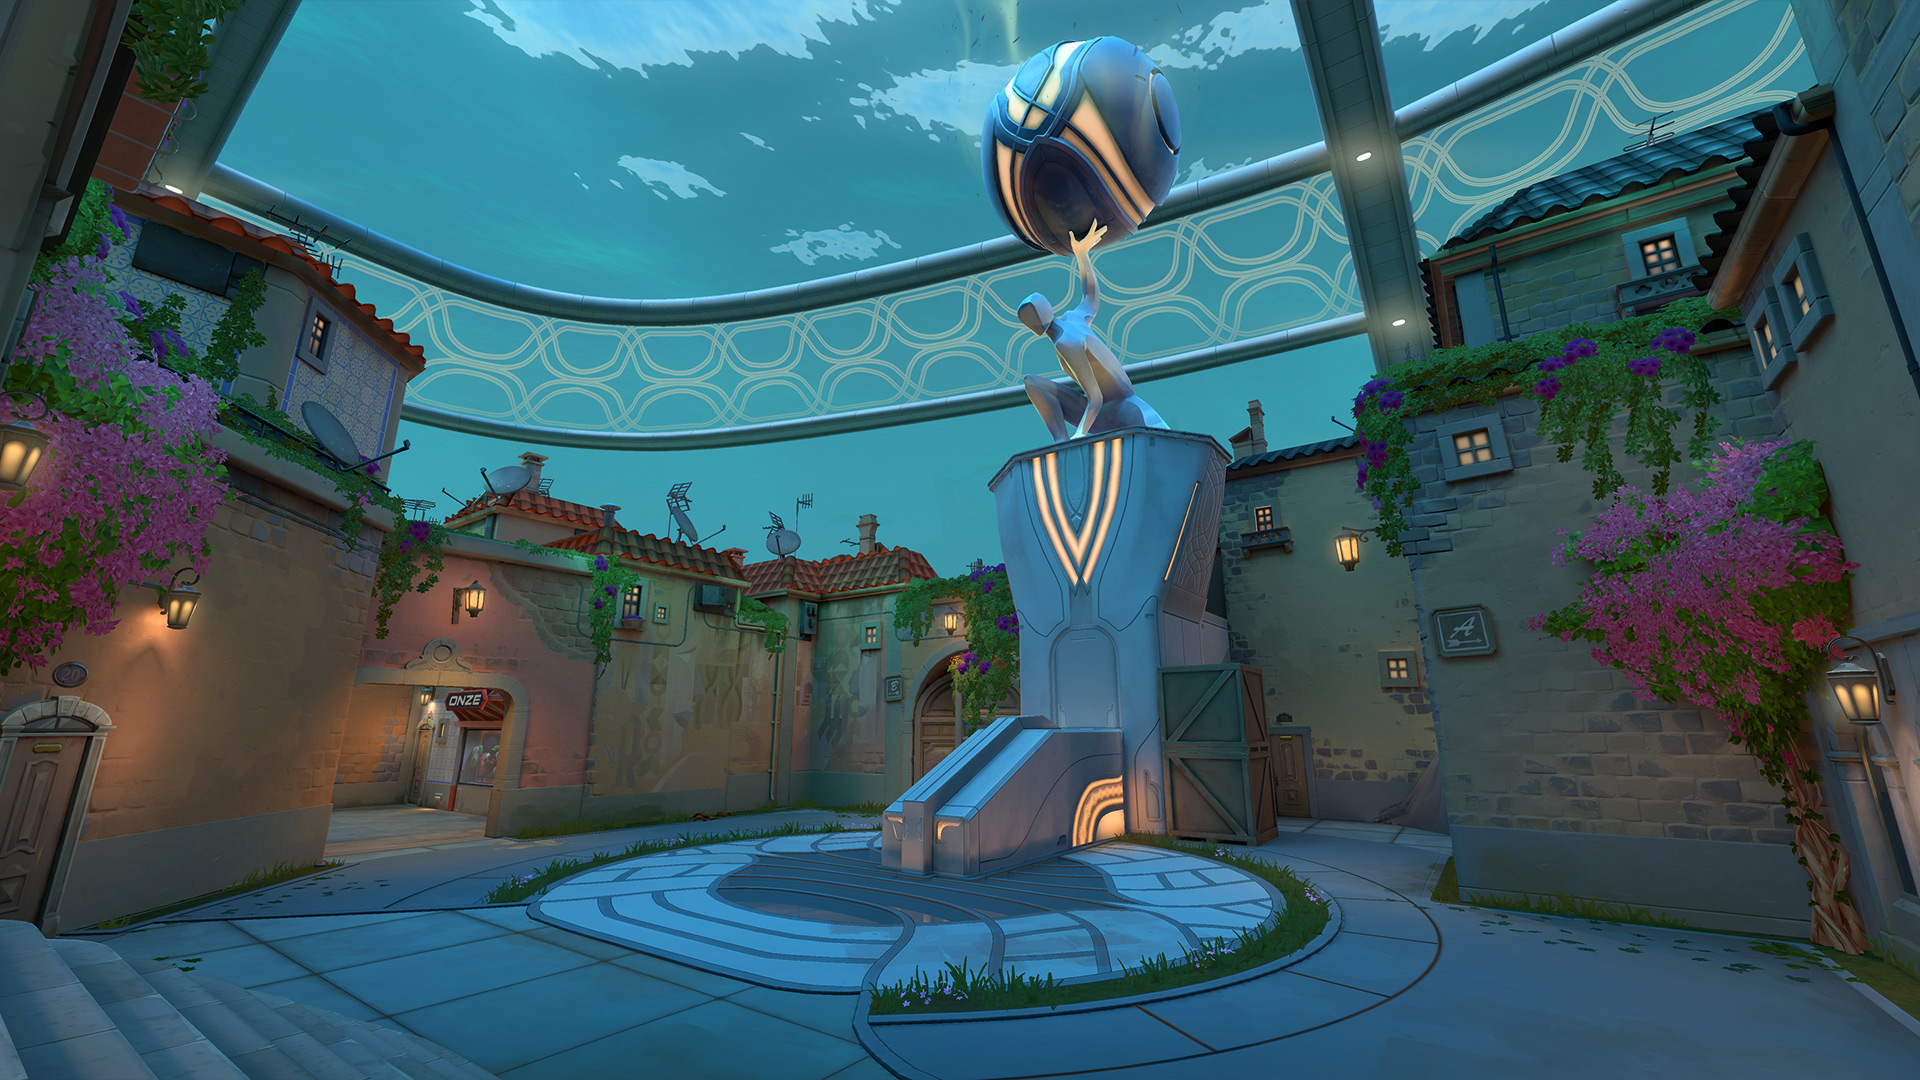
Finally, Pearl's vibrant and colorful aesthetic sets it apart from other maps in Valorant. The map's design draws inspiration from Mediterranean architecture, featuring sunlit streets, bustling markets, and charming alleyways. This visual appeal not only enhances the overall gaming experience but also provides players with distinct landmarks and visual cues to aid in navigation and communication. Whether you're navigating the tight corners of A Site or holding down the open spaces of B Site, Pearl's layout ensures that every match is a unique and engaging experience.
How Can You Master the A Site on Pearl?
The A Site on the Valorant Pearl Map Layout is known for its tight corridors and complex geometry, making it a challenging area to dominate. To master this section of the map, players need to understand its layout and the strategic opportunities it presents. The A Site features multiple entry points, including the notorious "A Lobby" and the elevated "A Heaven," both of which require careful planning and coordination to control. By mastering these areas, players can gain a significant advantage over their opponents.
Key Features of A Site
A Site is characterized by its verticality and tight spaces, which can be both an advantage and a disadvantage. Here are some of the key features:
- A Lobby: A narrow corridor that serves as the primary entry point to A Site. Controlling this area is crucial for both attackers and defenders.
- A Heaven: An elevated position that provides a vantage point over the site. This area is perfect for snipers and players who excel at holding angles.
- A Short: A quick route to A Site that is often used for flanking maneuvers. This path requires precise timing and communication.
Tips for Dominating A Site
To excel on A Site, players should focus on the following strategies:
Read also:Why Ezra Millers Jawline Has Become A Cultural Obsession Unveiling The Mystery
- Utilize Utility: Smoke grenades and flashbangs can be used to block vision and create opportunities for aggressive pushes or defensive setups.
- Coordinate with Your Team: Communication is key when navigating the tight spaces of A Site. Ensure your team is aware of enemy positions and potential flanks.
- Control A Heaven: Holding this elevated position can provide a significant advantage, allowing you to pick off enemies from a safe distance.
What Are the Best Strategies for B Site?
B Site on the Valorant Pearl Map Layout offers a stark contrast to A Site, with its open spaces and long sightlines. This area is ideal for players who prefer long-range engagements and strategic positioning. To dominate B Site, players need to understand its layout and the opportunities it presents for both attackers and defenders.
Key Features of B Site
B Site is characterized by its spacious design and multiple entry points. Here are some of the key features:
- B Main: A long, open corridor that leads directly to B Site. This area is often contested and requires careful utility usage.
- B Garden: A secluded area that provides cover for flanking maneuvers. This spot is perfect for players who enjoy playing aggressively.
- B Heaven: An elevated position that offers a vantage point over the site. This area is ideal for holding angles and picking off enemies.
Tips for Dominating B Site
To excel on B Site, players should focus on the following strategies:
- Use Long-Range Weapons: The open spaces of B Site favor weapons with high accuracy and range, such as rifles and snipers.
- Control B Garden: This area can be used for flanking enemies and creating chaos on the site. Ensure your team is aware of your position to avoid friendly fire.
- Hold B Heaven: This elevated position provides a significant advantage, allowing you to pick off enemies from a safe distance.
Why Is Mid Control Crucucial on Pearl?
Mid control is a critical aspect of the Valorant Pearl Map Layout, as it serves as the central hub connecting A Site, B Site, and other key areas. Controlling Mid allows teams to gather valuable information, rotate quickly between sites, and set up strategic plays. Without proper Mid control, teams risk being caught off guard and losing the tempo of the match.
Key Areas of Mid
Mid is characterized by its central position and multiple access points. Here are some of the key areas:
- Mid Market: A bustling area that provides cover and opportunities for close-quarters combat.
- Mid Alley: A narrow corridor that connects Mid to A Site. This area is often used for quick rotations.
- Mid Tower: An elevated position that offers a vantage point over Mid. This area is perfect for holding angles and gathering information.
Tips for Controlling Mid
To dominate Mid, players should focus on the following strategies:
- Use Utility Effectively: Smoke grenades and flashbangs can be used to block vision and create opportunities for aggressive pushes.
- Communicate with Your Team: Mid is a high-traffic area, and communication is key to avoiding friendly fire and coordinating plays.
- Hold Mid Tower: This elevated position provides a significant advantage, allowing you to gather information and pick off enemies.
How to Optimize Rotations Between Sites?
Rotations are a critical aspect of the Valorant Pearl Map Layout, as they allow teams to respond quickly to enemy pushes and maintain control of key areas. Optimizing rotations requires a deep understanding of the map's layout and the ability to communicate effectively with your team.
Key Rotation Routes
Here are some of the most important rotation routes on Pearl:
- A to B: This route involves crossing through Mid and requires precise timing to avoid being caught off guard.
- B to A: A quick route that involves using B Garden and Mid Alley to reach A Site.
- Mid to A: A direct route that allows teams to respond quickly to enemy pushes on A Site.
Tips for Efficient Rotations
To optimize rotations, players should focus on the following strategies:
- Communicate with Your Team: Ensure your team is aware of your rotation plans to avoid confusion and friendly fire.
- Use Utility to Block Vision: Smoke grenades and flashbangs can be used to block enemy vision and create safe paths for rotations.
- Time Your Rotations Carefully: Rotating too early or too late can leave your team vulnerable. Ensure your timing is precise.
What Are the Key Callouts on Pearl?
Effective communication is essential for success on the Valorant Pearl Map Layout, and understanding key callouts is crucial for coordinating with your team. These callouts help players quickly identify enemy positions, plan strategies, and execute plays with precision.
Key Callouts for A Site
Here are some of the most important callouts for A Site:
- A Lobby: The primary entry point to A Site.
- A Heaven: An elevated position that provides a vantage point over the site.
- A Short: A quick route to A Site that is often used for flanking maneuvers.
Key Callouts for B Site
Here are some of the most important callouts for B Site:
- B Main: A long, open corridor that leads directly to B Site.
- B Garden: A secluded area that provides cover for flanking maneuvers.
- B Heaven: An elevated position that offers a vantage point over the site.
How to Use Valorant Pearl Map Layout to Your Advantage?
The Valorant Pearl Map Layout offers numerous opportunities for players to gain an edge over their opponents. By understanding the map's intricacies and leveraging its features, players can create strategic advantages and outplay their enemies.